3. Set Default Web Map
Purpose: Set a default Web Map for an organization. This provides the default map/data that is displayed for all users within the organization.
Prerequisites
- You have connected your ArcGIS Enterprise to OmniSpatial (see guide here)
Steps
Create a Web Map
- Create a Web Map that is accessible to all users of the application (your organization)
- See the Web Maps section on authoring Web Maps
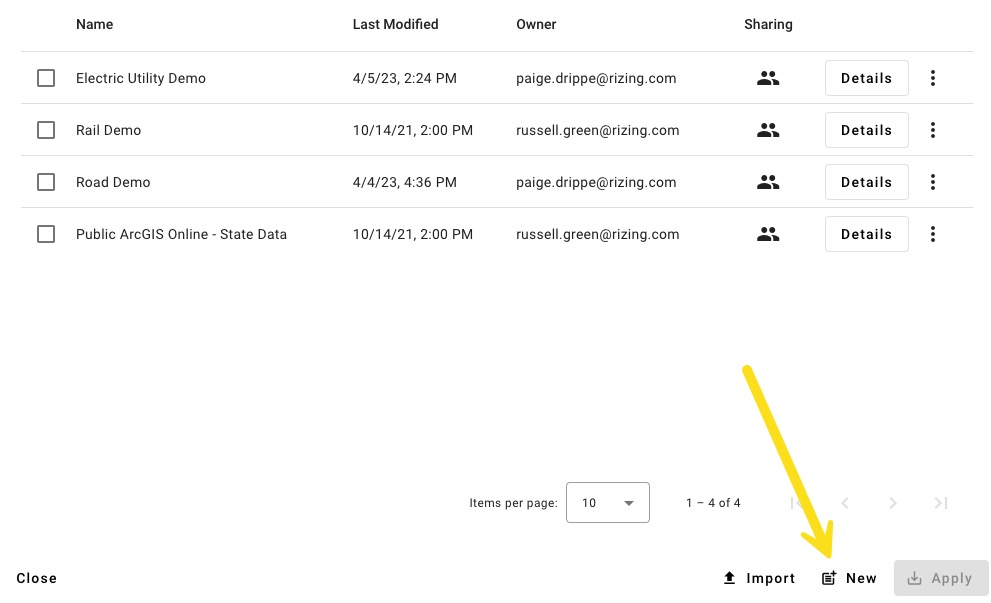
Create New Config Package
- Create a new Configuration Package that will serve as the "Default Configuration Package" for your organization
- Config Packages > Config Packages > New
- Give it a name
- ex:
Default Organization Config Package
- ex:

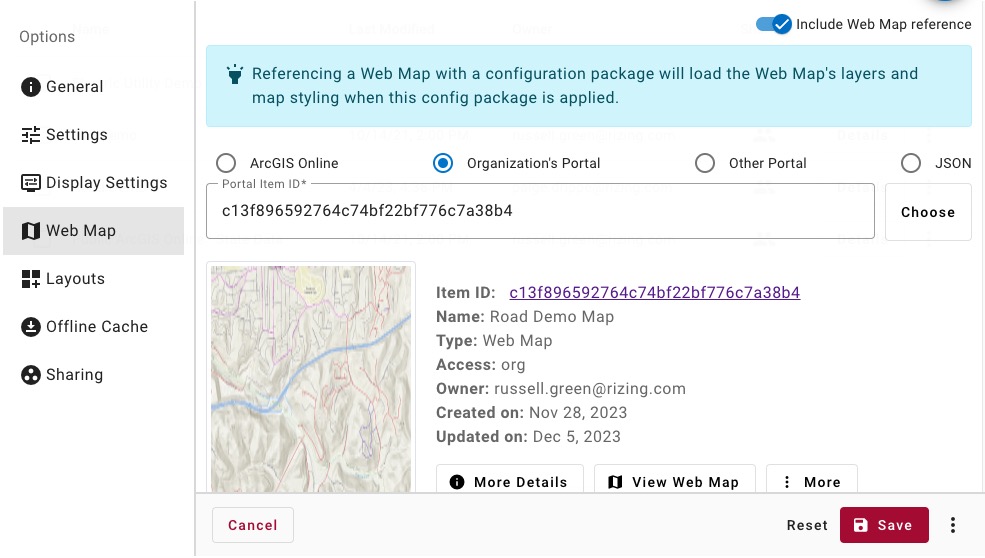
Set the Web Map
- Go to the
Web Mapsection - Toggle the "Include Web Map reference" option on
- Select the "Organization's Portal" option
- Find and select your webmap
tip
You can search for your web map using the "Choose" button or enter the Web Map ID by copying the Portal Item ID from your ArcGIS Enterprise.
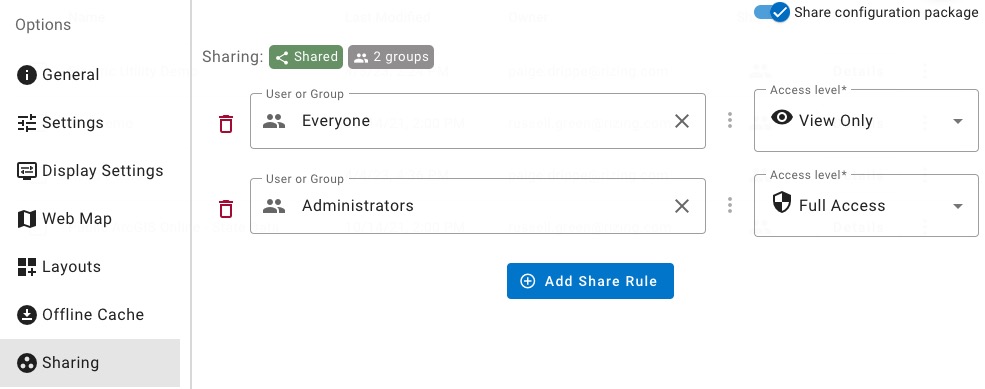
Set Sharing
- Go to the
Sharingsection - Toggle the "Share configuration package" option on
- Select the
Everyonegroup from the User or Group search (keep access level as "View Only") - Click the
Add Share Rulebutton - Select the
Administratorsgroup from the User or Group search - Set the "Access Level" to
Full Access- This allows other administrators to modify this config package
- Click the
Savebutton
Apply to the Organization
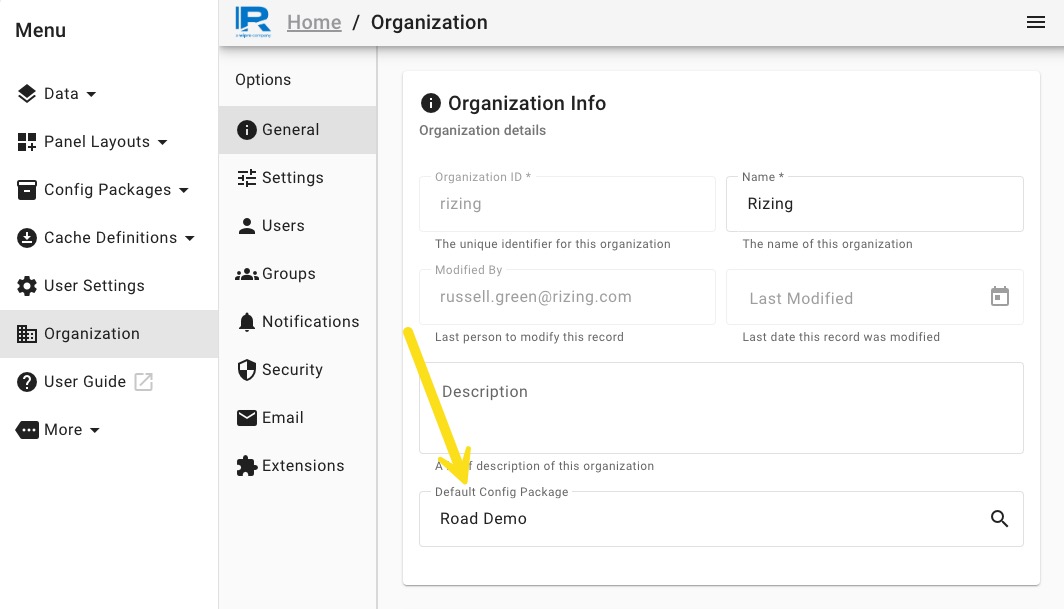
- Go to the
Organizationsection in the left-menu - Go to the
Generalsection - Select the config package you just created in the
Default Config Packageinput - Click the
Savebutton - Reload the application and verify that the new config package (and Web Map) load by default