1. Create Organization
Purpose: Setup your organization for the first time
Prerequisites
- You are running an on-premise (or self-managed) deployment of OmniSpatial
- OmniSpatial has been successfully deployed and is ready for use
Background
When running OmniSpatial as a SaaS product, your account representative will perform this step for you. They will create a new organization within the SaaS OmniSpatial environment and provide you with the URL. When running Omni as an on-premise or self-managed deployment, you must create your organization using the steps outlined in this tutorial.
By default, the application will deploy with an already configured master organization which is used
for global administrative tasks (such as creating new organizations).
Steps
Load the 'master' Organization
- Load the OmniSpatial application (root URL)
- Example:
https://omni.my-domain.app
- Example:
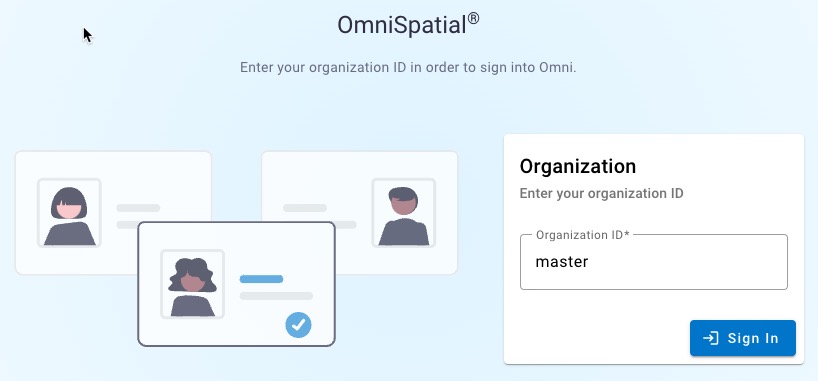
- Enter the "organization ID"
master - Sign in using the Identity Server admin account created during the deployment step
Enter Organization Details
- Click the "Administrator" option from the left-side menu (it is only available while on the
masterorganization) - Click the "New Organization" option
- Step through the "New Organization" setup steps
- General example inputs:
- Organization ID:
my-org - Name:
My Organization - Logo:
https://my-domain.com/logs/my-org-logo.png - Home URL:
https://my-domain.com - ArcGIS Enterprise URL:
https://arcgis.my-domain.com - ArcGIS Online URL:
https://my-domain.maps.arcgis.com
- Organization ID:
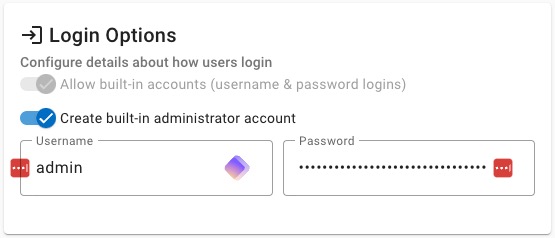
- Configure SSO or create an admin account with a strong password (SSO can be setup later)
- General example inputs:
Save the New Organization
- Go to the
Submitstep - Click
Submit New Organization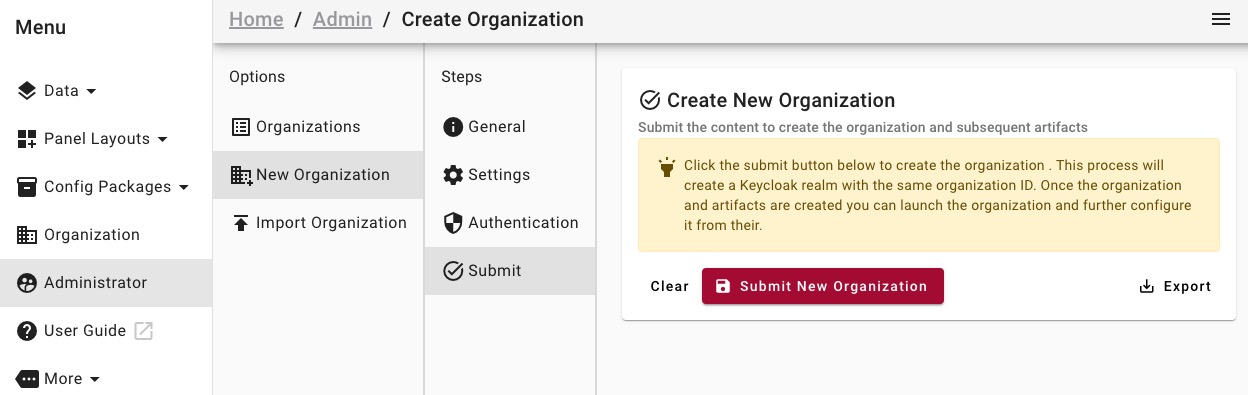
- Wait for the new organization to be created (could take several seconds)
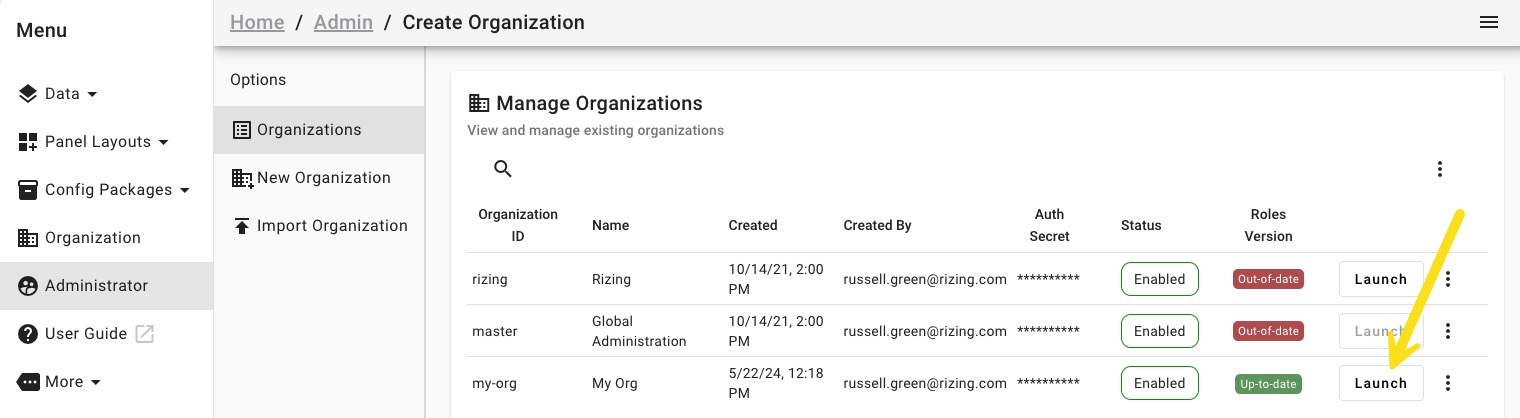
- Once created you should see the new organization in the list
- Click the
Launchbutton to launch that organization URL (ex:https://omni.my-domain.dev/my-org) - Login with an admin account and configure your organization accordingly